

Christmas is coming, and one of our family traditions in the run up to Christmas is to make some new DIY decorations. These simple DIY Ping Pong Ball Snowman Lights are a great project to do with the kids (or on your own), and make a cheery festive addition to any room.
These ping pong ball snowman lights were inspired by my recent Halloween ghost lights. I had all these ping pong left over from the craft and was wondering what to do with them. Originally I was going to make each ping pong ball into a Christmas charcter, so a snowman, and reindeer and maybe even santa himself. However, when the ping pong balls were painted they didn’t look as effective with the lights shining through them. So instead I decided to keep the balls white, and with the addition of some cardstock and a black marker turned them into these cute snowman heads.
So if you would like to see how I made these ping pong ball snowman lights, read on or pin it for later!
Pin Ping Pong Ball Snowman Lights for Later!

What You Will Need
- Battery operated LED fairy lights
- Ping pong balls
- A screw or something to make a small hole in the pin pong balls
- A4 Sheet of Orange thin card or paper
- A4 Sheet of Black thin card or paper
- Scissors
- 2p piece
- Pencil
- Black permanent marker
- Snowflake sequins (optional)
- Glue (I used a hot glue gun).
How You Make Your Ping Pong Ball Snowman Lights
- First you need to make a hole in the ping pong balls just big enough to fit one of the fairy lights in. I used a screw, but you could also use a small drill or similar. If your ping pong balls have logo’s, then either make sure they are at the back, or on top where you make the hole. This step is definetely for adults only.

- Push the light through each hole into the ping pong balls. Our strings of fairy lights had 30 individual bulbs. I decided to make 15 snowman heads so every other light was left bare. The amount of snowmen you want to make may differ depending on the length of your lights.

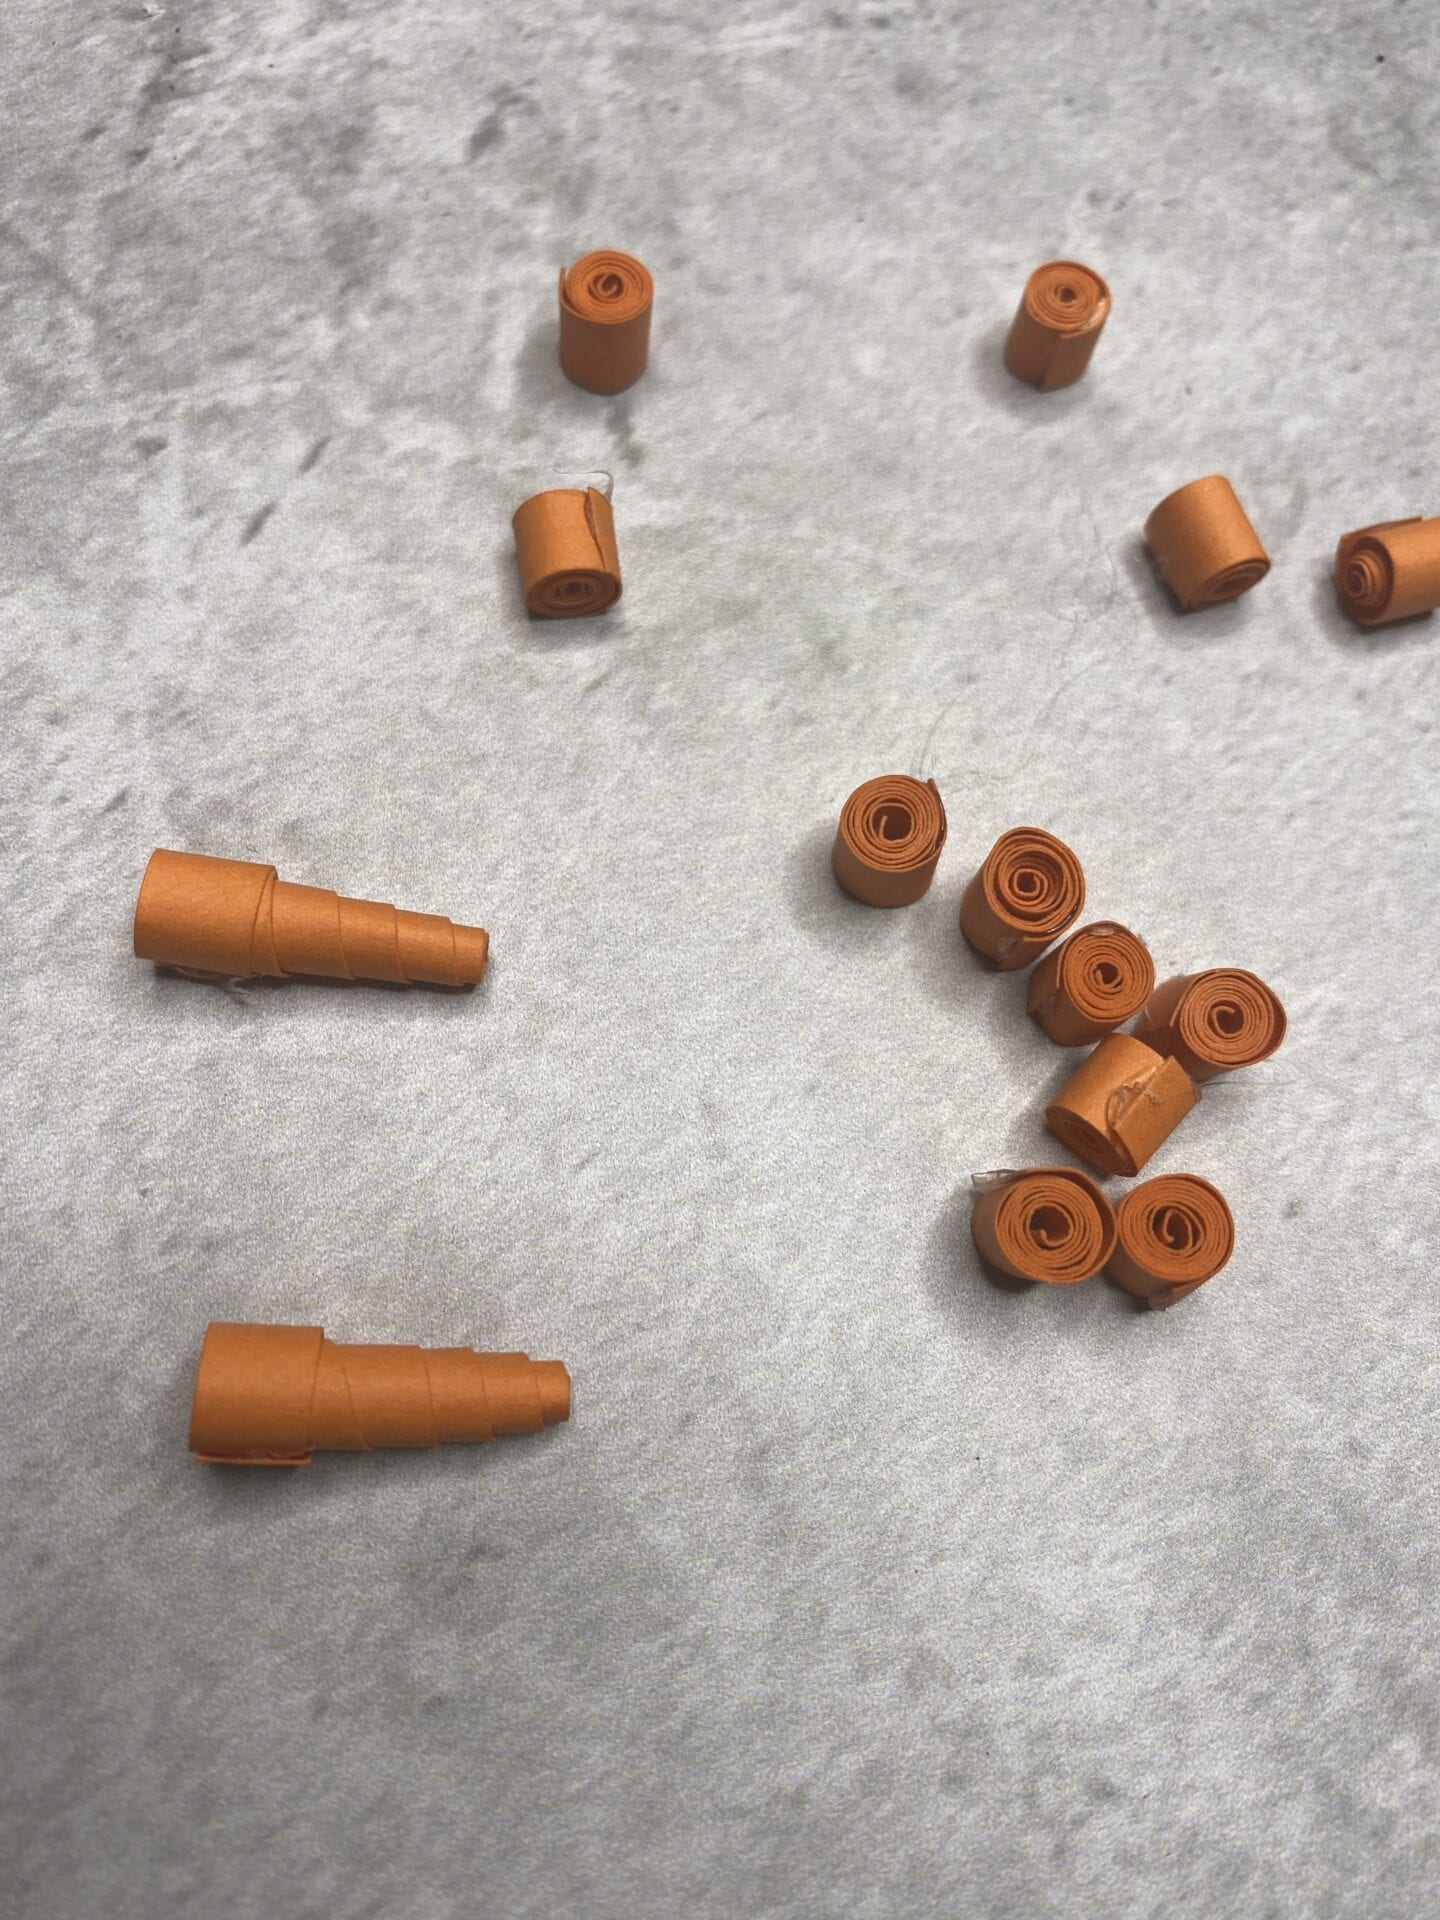
- To make the noses, cut 0.5cm strips from the short edge of an A4 sheet of orange card or paper. Then cut each strip into half.
- Roll the strips into a tight coil, securing the end with a dot of glue. When dry use a sharp object such as a pencil, to push the middle of the coil out to make a nose shape. Take care not to push to hard and ruin your coil.
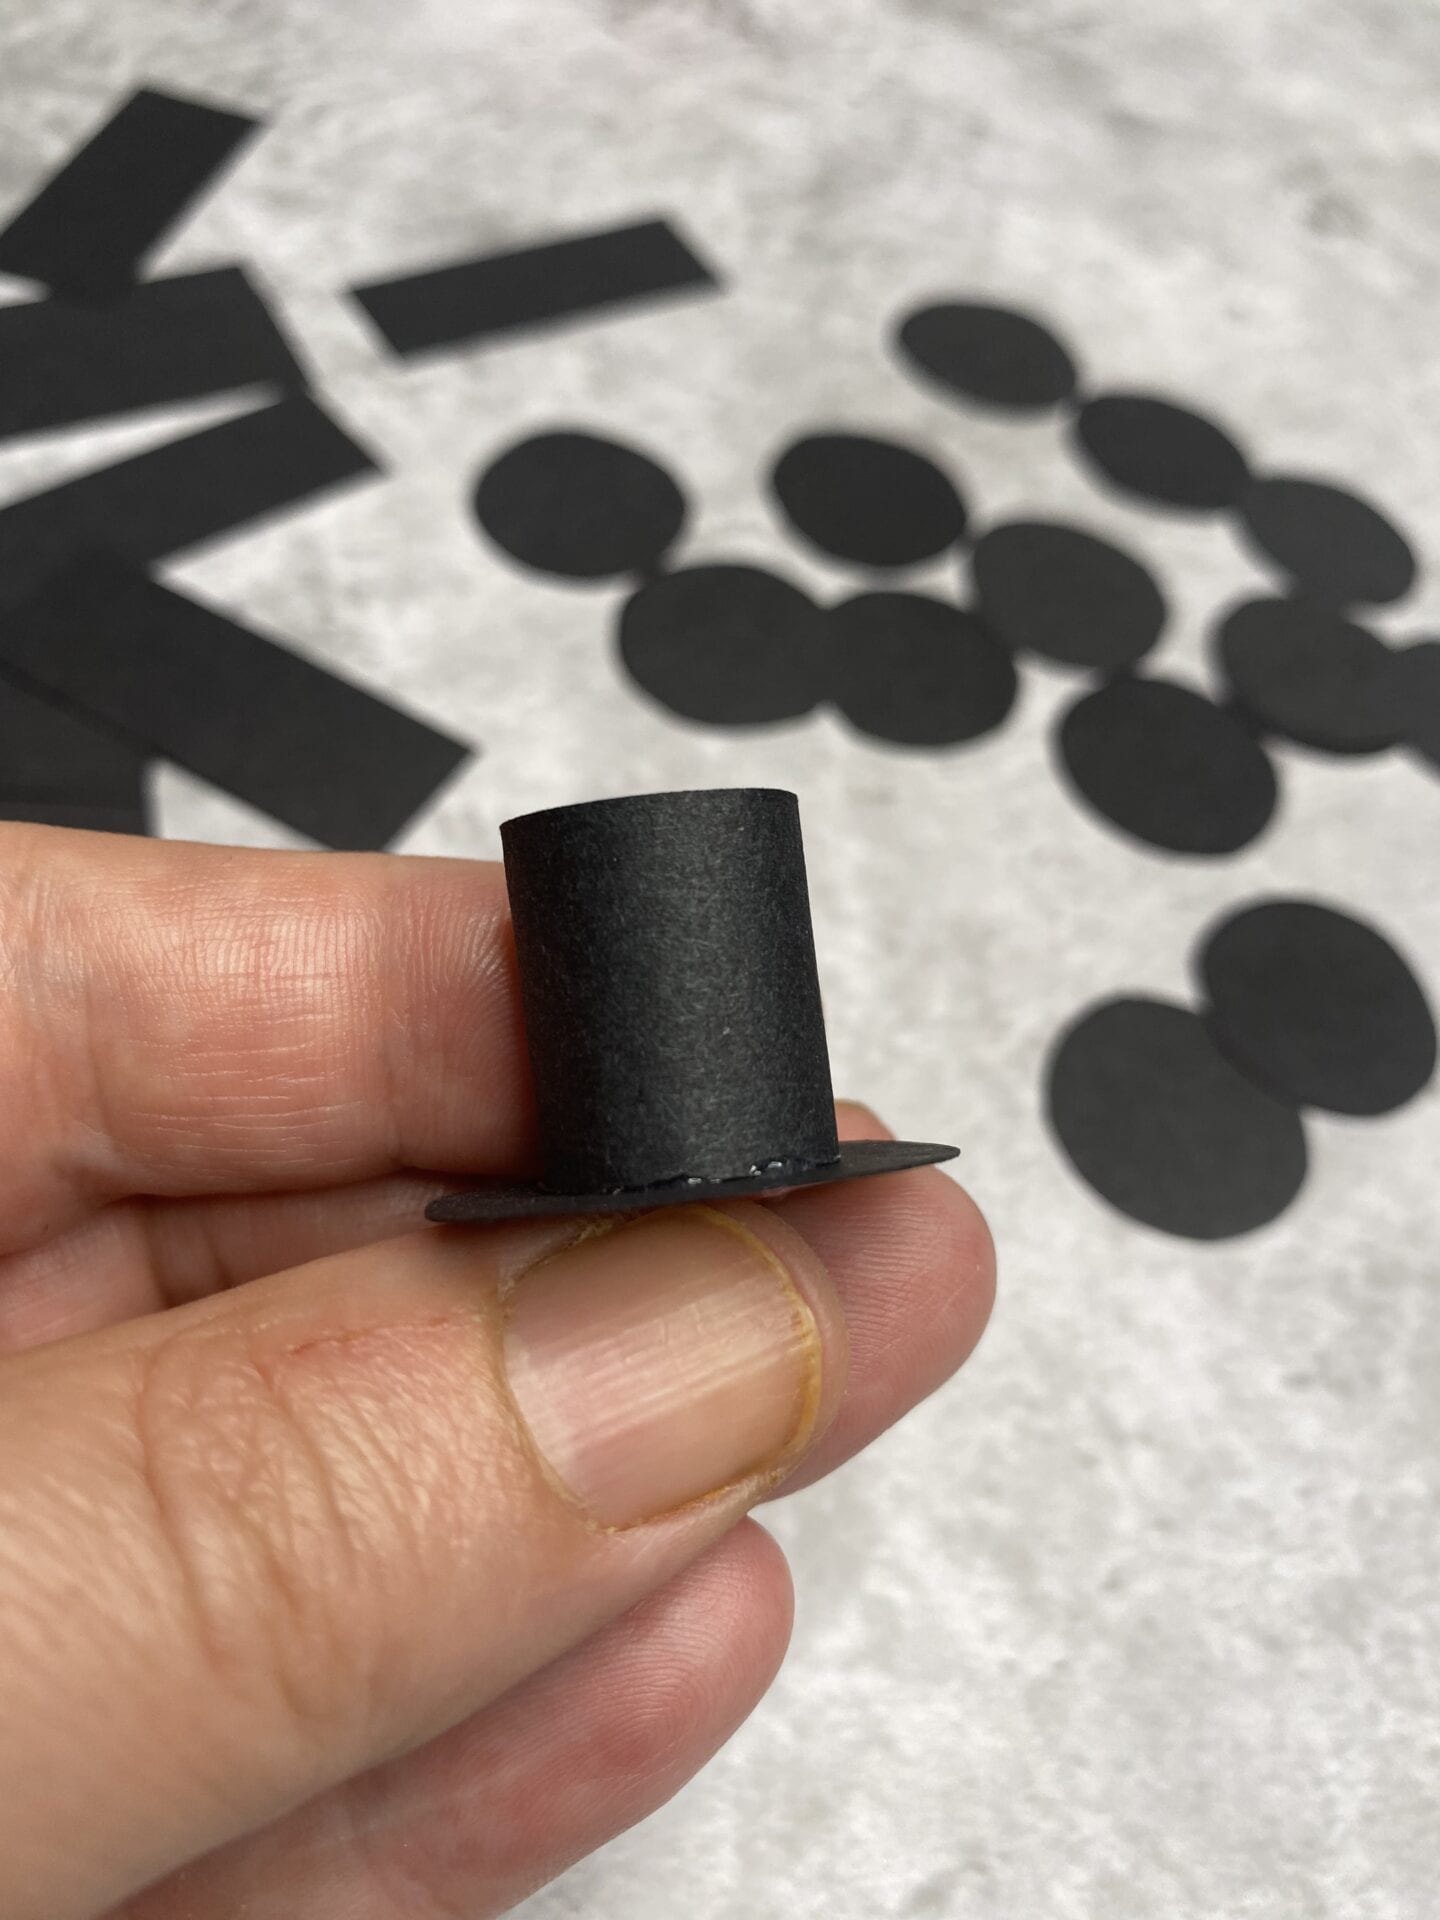
- To make the top hats, cut black card or paper into 5cm x 1.5cm strips. Draw around a 2p piece onto the black card or paper and cut out circles.
- Roll the strips of card into a tube and secure with some glue. I found it easier to do this by starting to roll it round a thick pen. Then glue the tube onto one of the card circles.
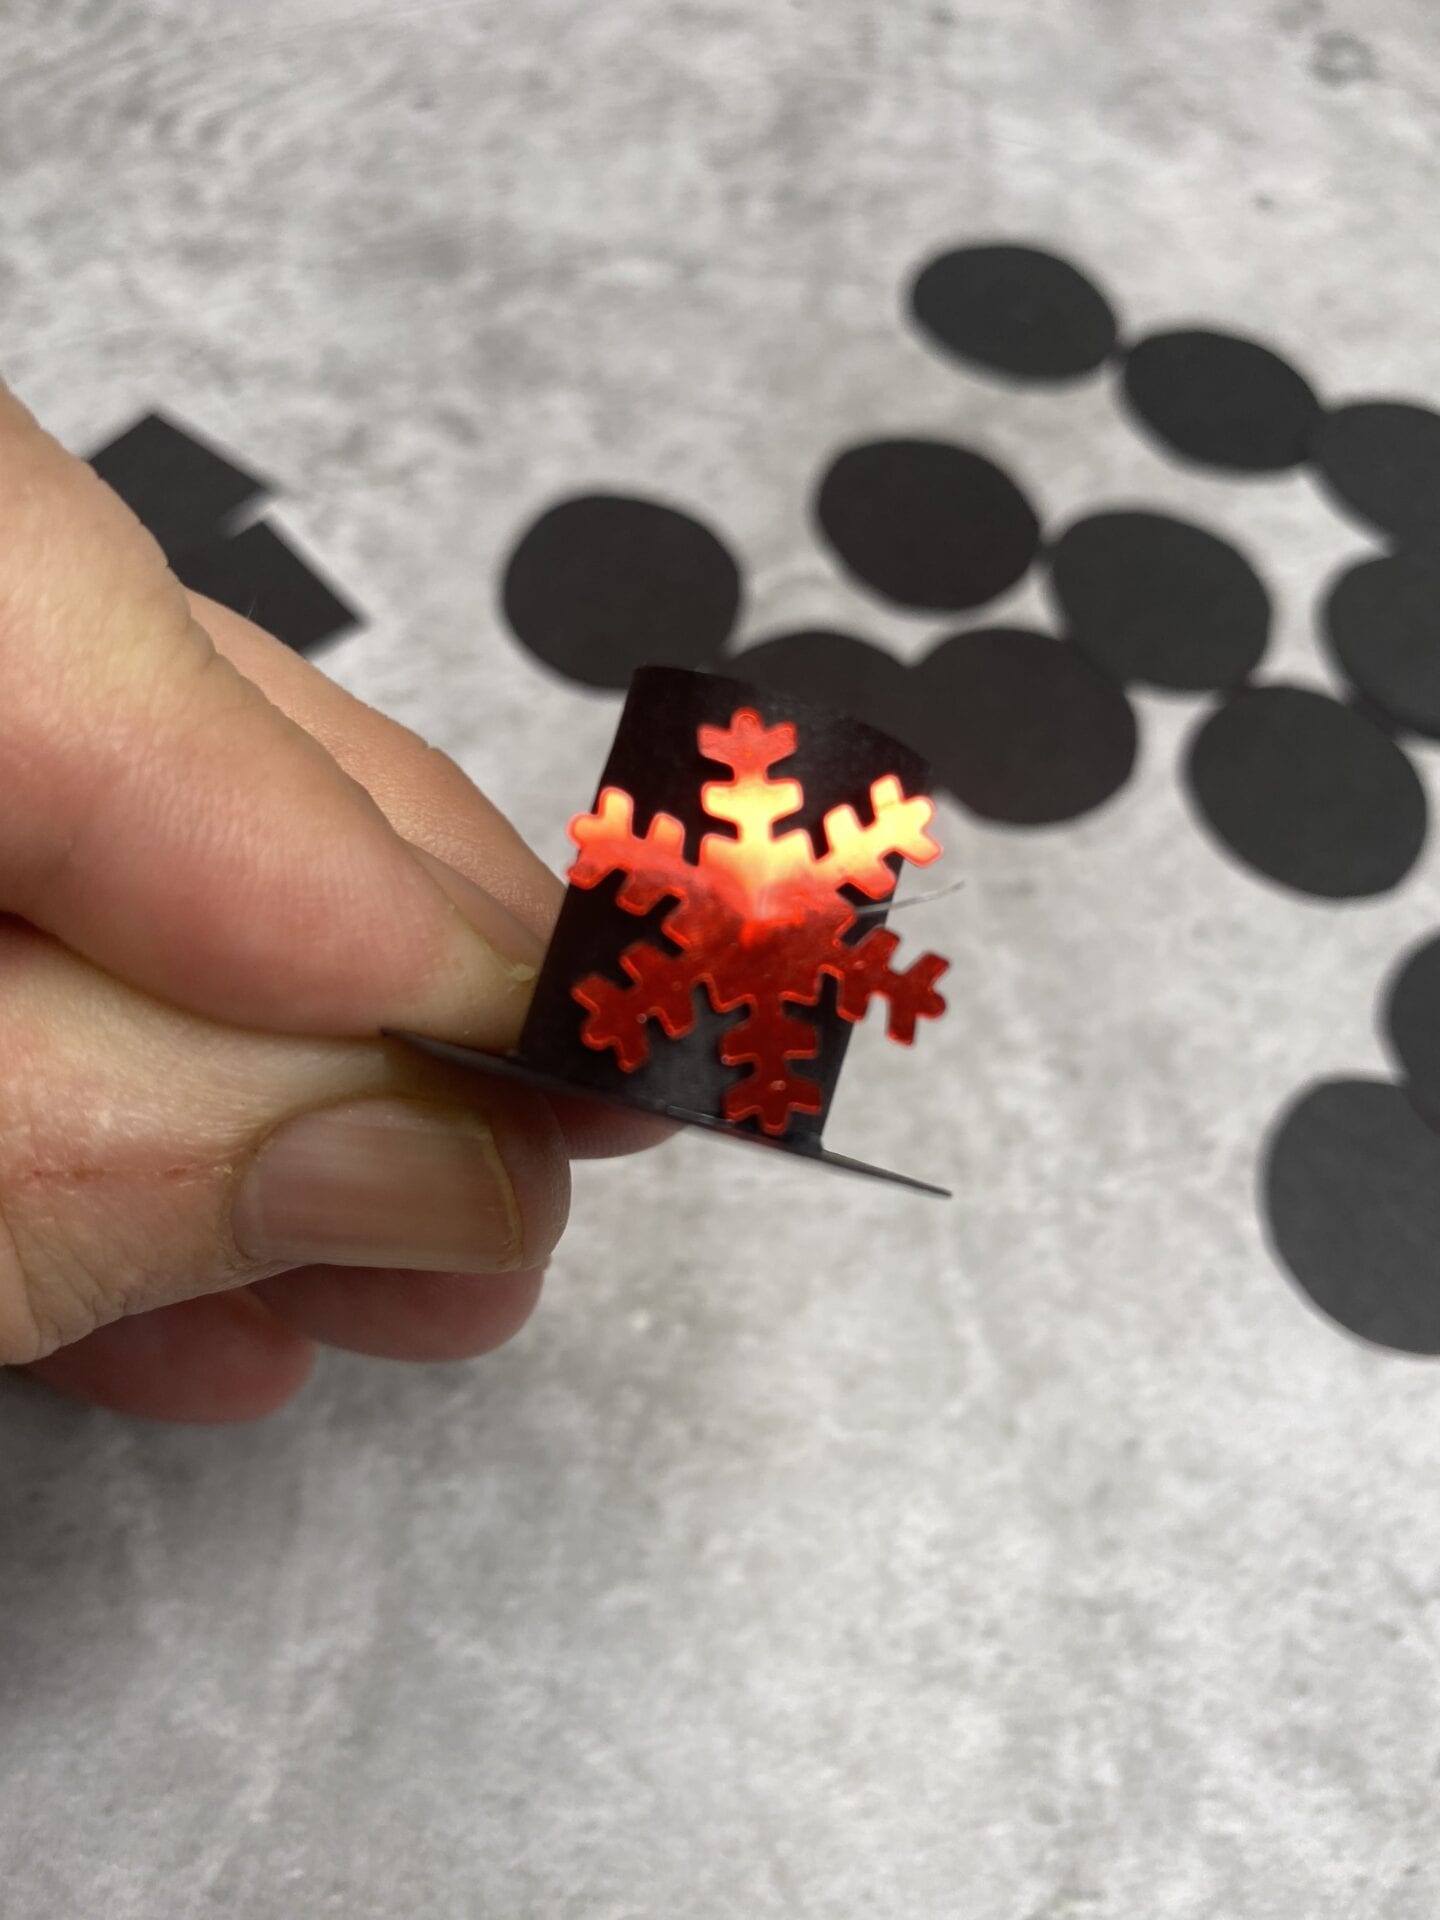
- The hats can be finished off by gluing on a festive sequin or similar. You could also use ribbon, or leave blank if you want.
- Now it’s time to turn the ping pong balls into snowmen! Glue a card carrot nose to the centre of each ping pong ball (the hole for the light will be at the top).
- Then glue on the top hats. You will have to do these slightly off centre to avoid the wire at the top.

- Finally add details of eyes and mouth using a black permanent marker.

That’s it! As soon as the glue is dry they are ready to hang up and enjoy!
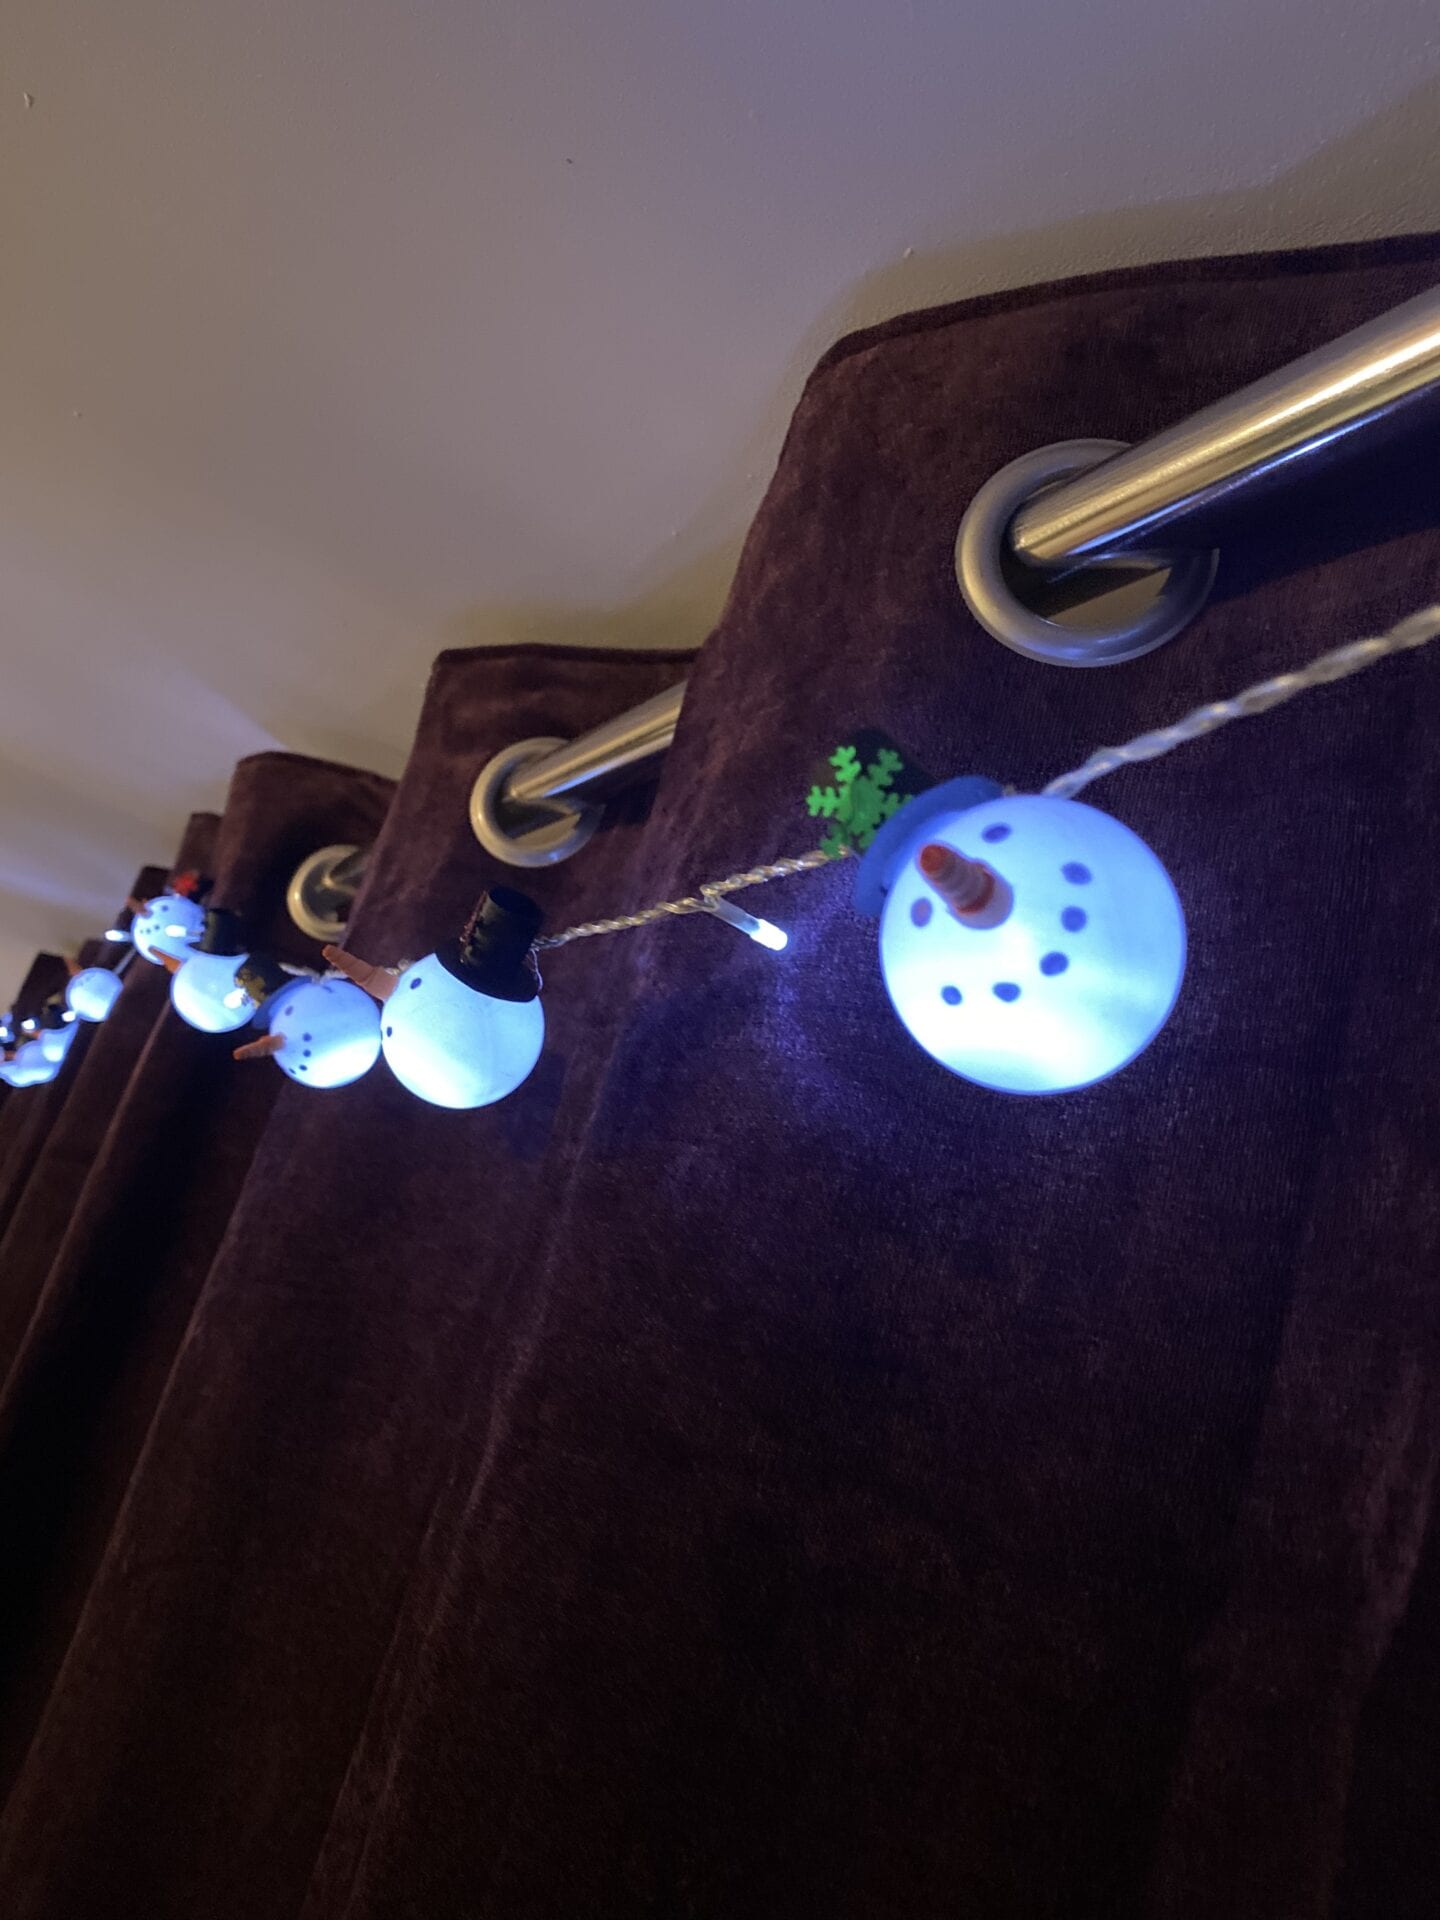
So what do you think of our DIY Ping Pong Ball Snowman Lights? I really love how they have turned out, I’m not sure the pictures do them justice. Seeing their cheery little faces is making me want to put the rest of my decorations up!
Kerry x
We do lots of Christmas crafts and activities, so if you never want to miss a post sign up to my weekly newsletter below.









No Comments