
We love subscription boxes, and we have been fortunate to review quite a few in the past. The most recent ones have been for the kids, but it’s always nice to be sent something just for me to indulge in. So I was particularly pleased when Crafty Creatives sent me one of their boxes which contained everything I needed to make a DIY Spring Wreath.
I have reviewed a Crafty Creatives box before, it was a kit to make a really cute autumnal felt garland. That’s what I love about these boxes, the crafts are very diverse and often have a seasonal edge to them.
Sadly I don’t get a huge amount of time to just sit and do crafts on my own, but over the weekend I sat down whilst the kids were happily playing outside and got to work on my DIY Spring Wreath. Everything I needed (and much more!) was in the box, so I got crafting and I was rather pleased with the finished result! So if you’d like to make one yourself read on for the full tutorial..
What You Will Need for Your DIY Spring Wreath

- Half rounded polystyrene ring
- Orange ribbon
- White ribbon
- White lace ribbon
- Green and pink raffia
- Yellow pom pom
- Yellow pipe cleaners
- Pins
- Glue gun
How to Make Your DIY Spring Wreath
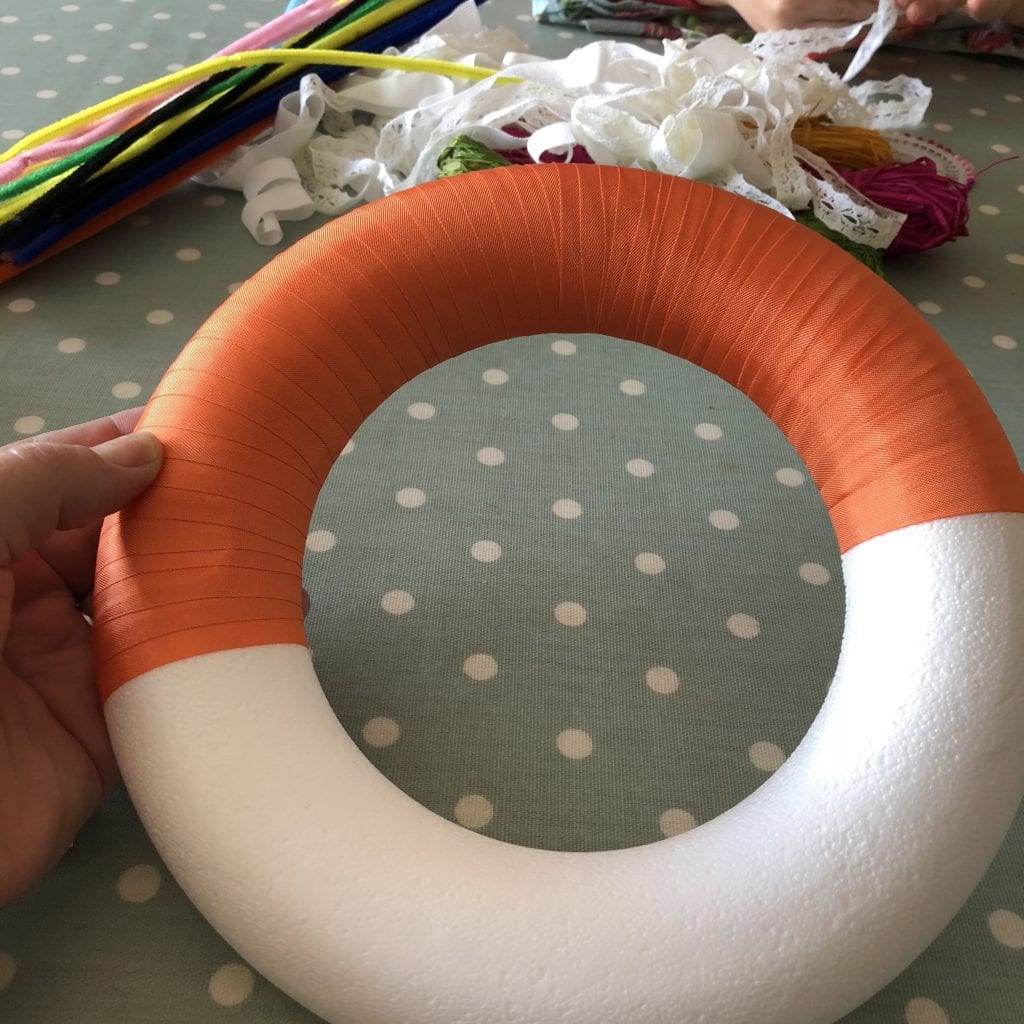
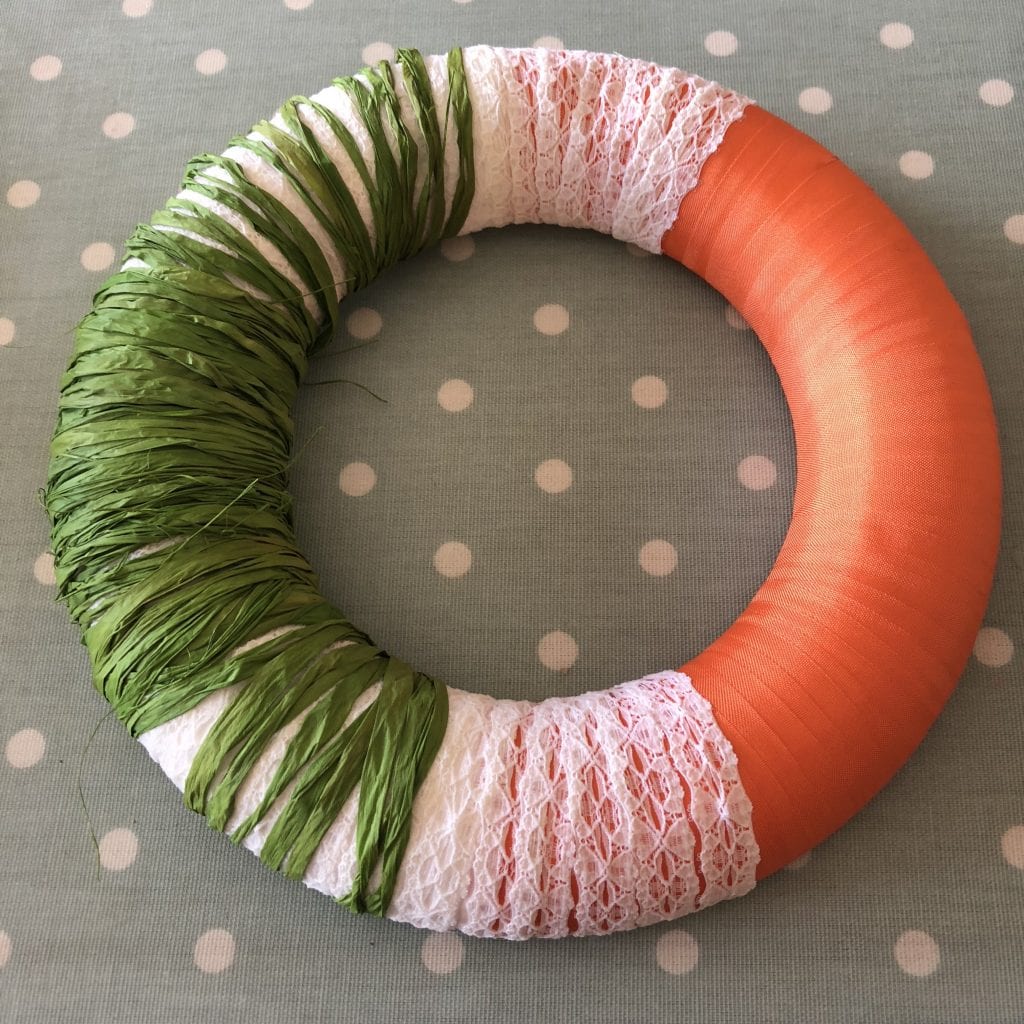
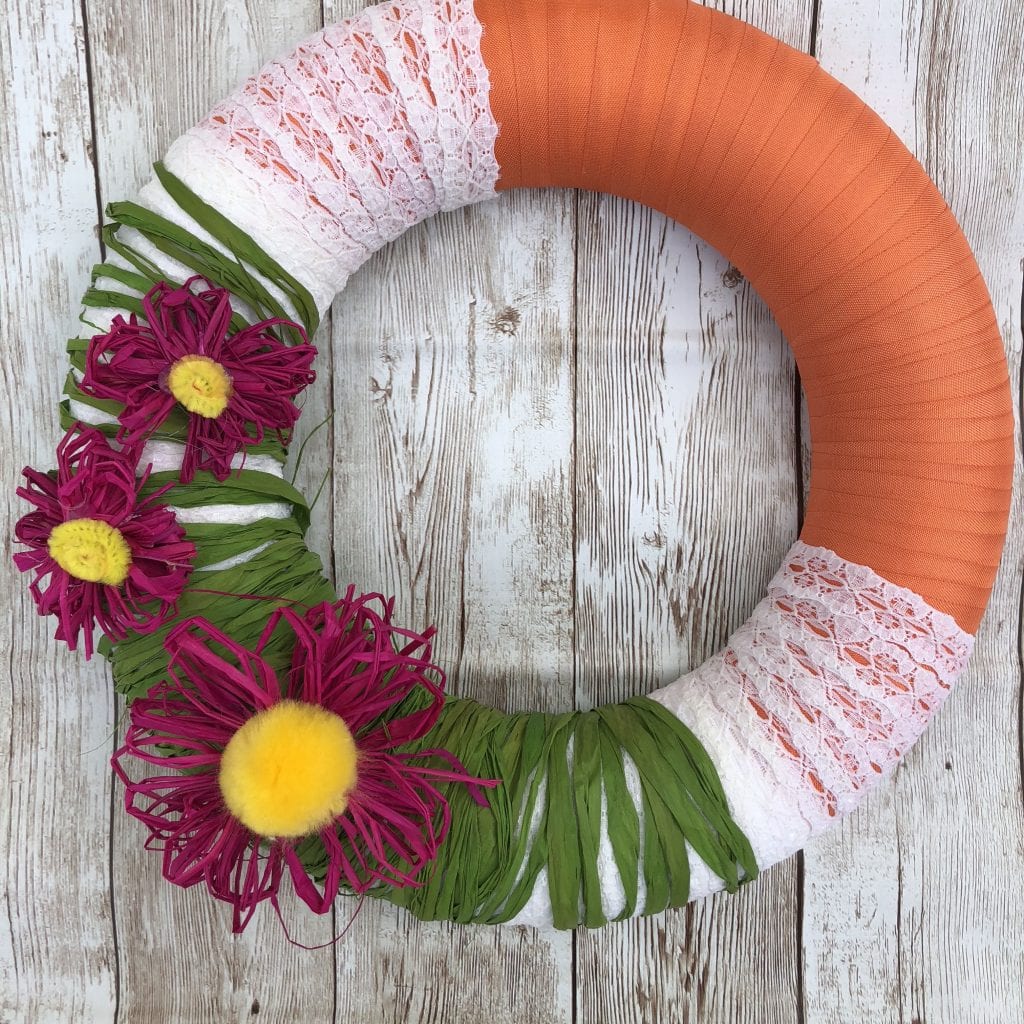
- Wrap half of the polystyrene ring in the orange ribbon. I used my trusty glue gun to secure the end of the ribbon to the back of the ring, and carefully wound the ribbon around it.
- Wrap the other half with the white ribbon in a similar fashion.
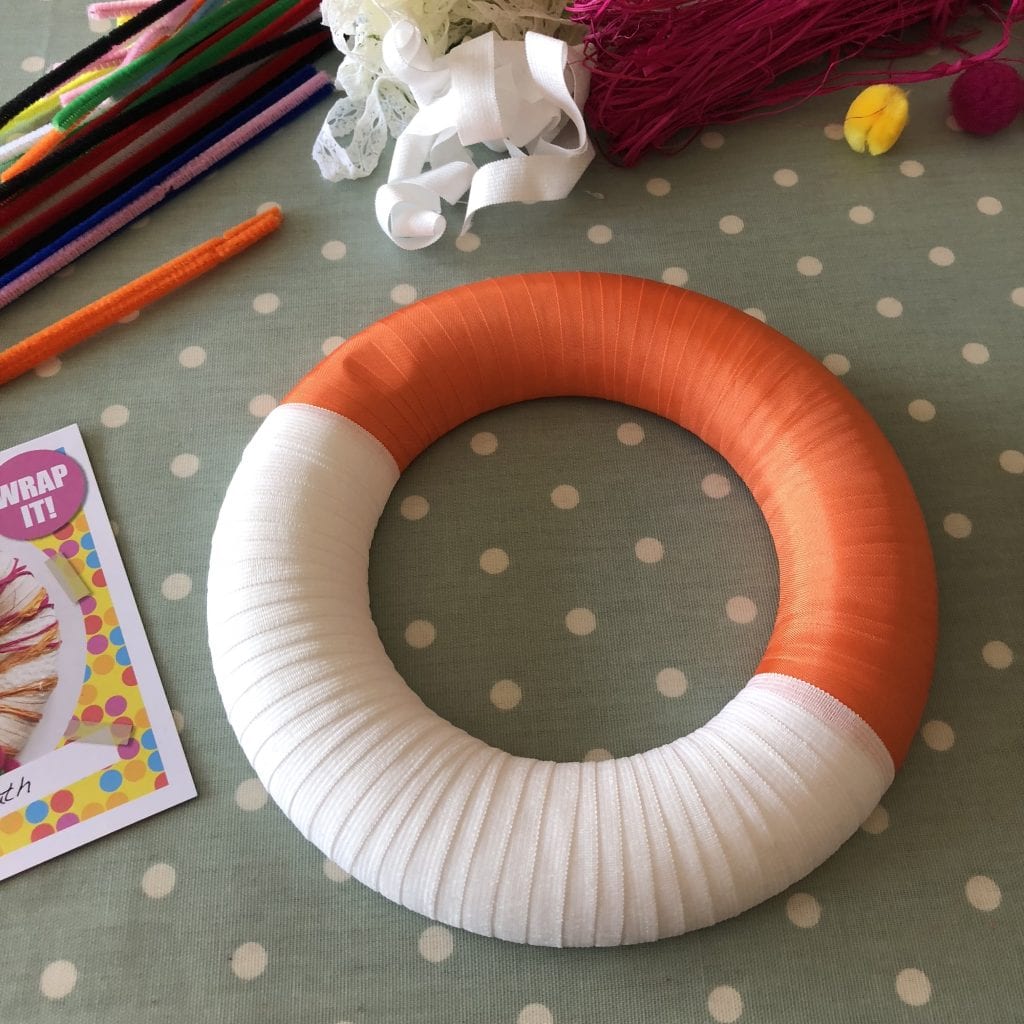
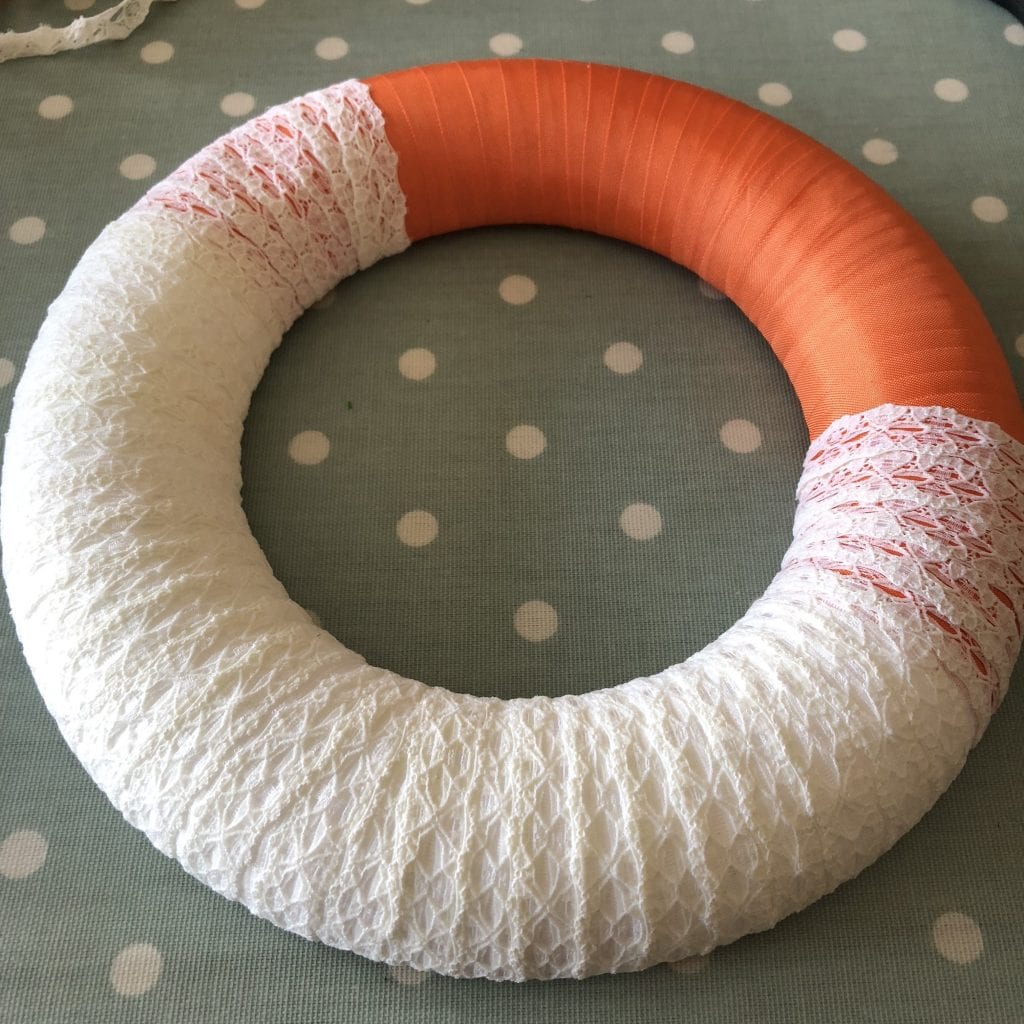
- Wrap the lace ribbon over the white ribbon overlapping the orange ribbon slightly.
- Then wrap the green coloured raffia around the white section, concentrating more on the centre of the section.
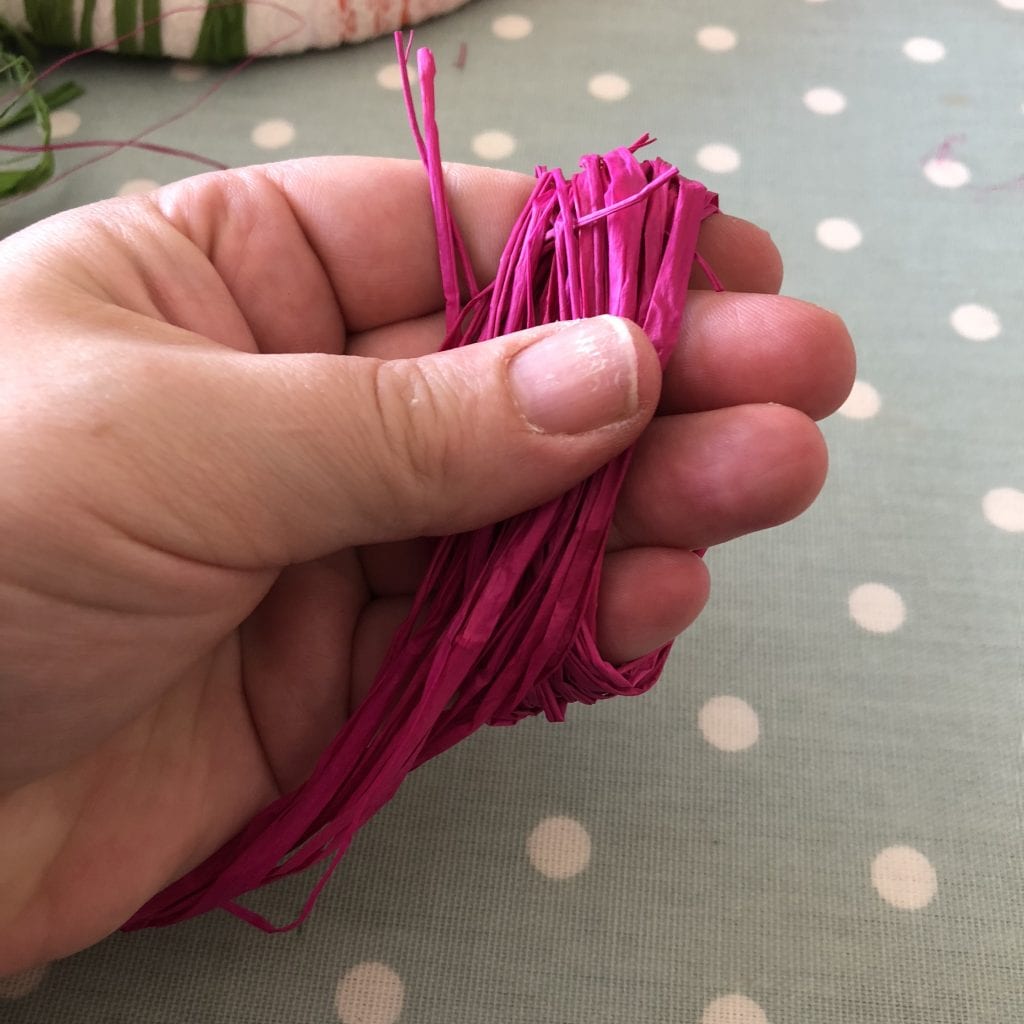
- To make the large flower, wrap a few strands of pink raffia around your fingers a couple of times. Then tie a piece of raffia around the centre. You will need two of these for each flower.
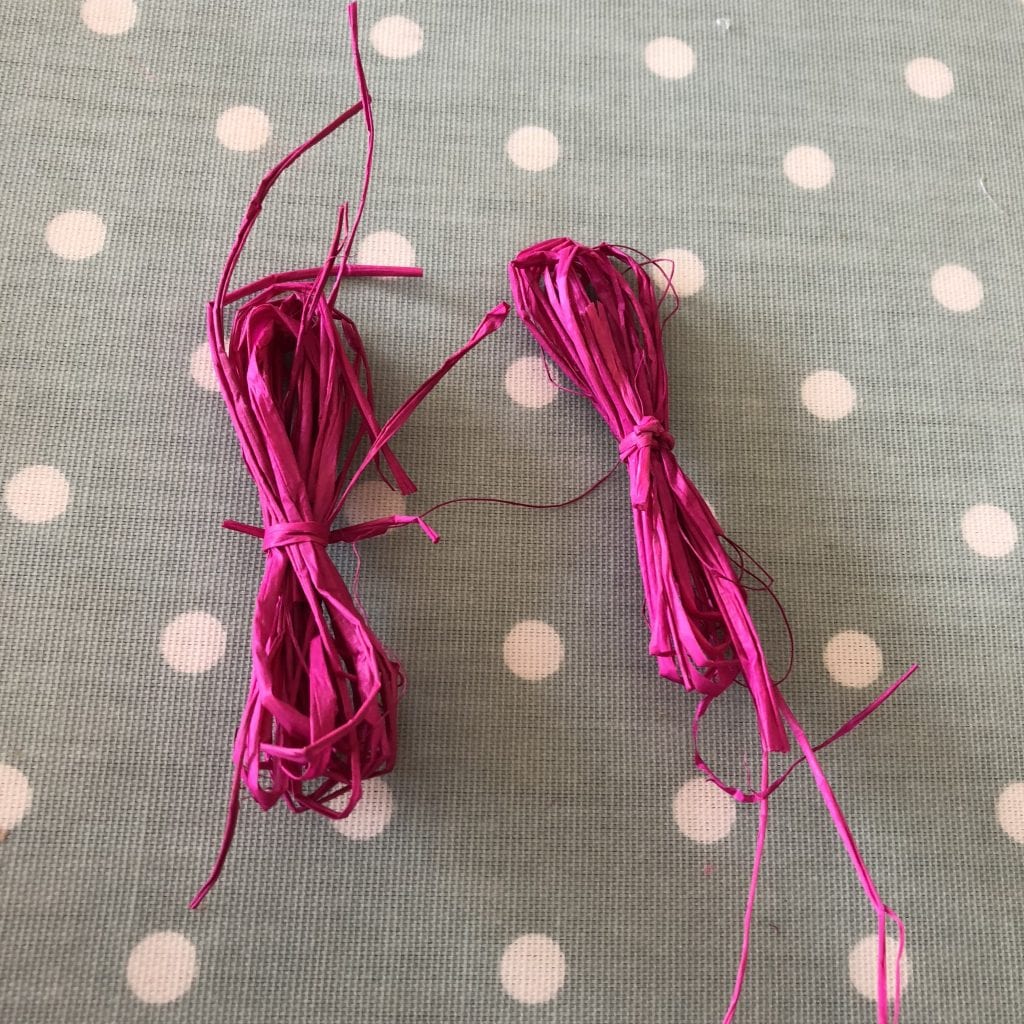
- Pin the raffia bunches to the wreath, and spread them out to make the petals. Use pins to keep in place.
- Glue a pom pom to the centre of the flower.
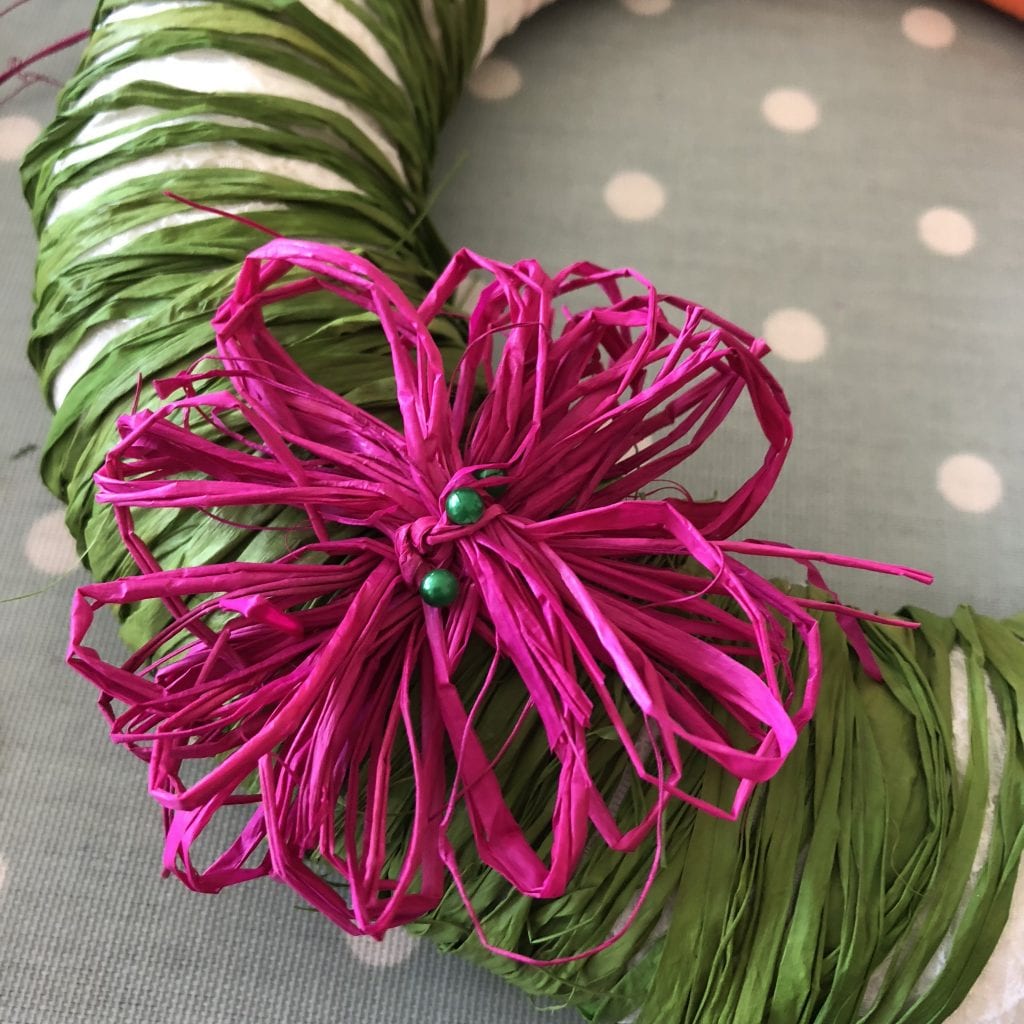

- To make the smaller flowers, just simply wrap the raffia around 2 fingers to make smaller bunches. You could then use smaller pom poms for the flower centre, or I used a small piece of pipe cleaner coiled up.
- That’s it, simple but effective DIY Spring Wreath.
Pin It For Later!

Crafty Creatives Subscription Boxes
Crafty Creatives produce monthly subscription boxes for creative people. Each box contains everything you need for a complete project. They are suitable for both beginners and more experienced crafters to learn new crafts or rediscover old ones. Each box is £15, and contains a minimum of £15 (and often more!) worth of crafty materials and instructions for your monthly project. Previous boxes have included a concrete planter kit, sock giraffe, string art, lip balm making and even paper cutting.
What do you think of craft subscription boxes? Have you tried one before?
Kerry x
Disclaimer: I was gifted this Crafty Creatives box but all words and opinions are my own.







No Comments